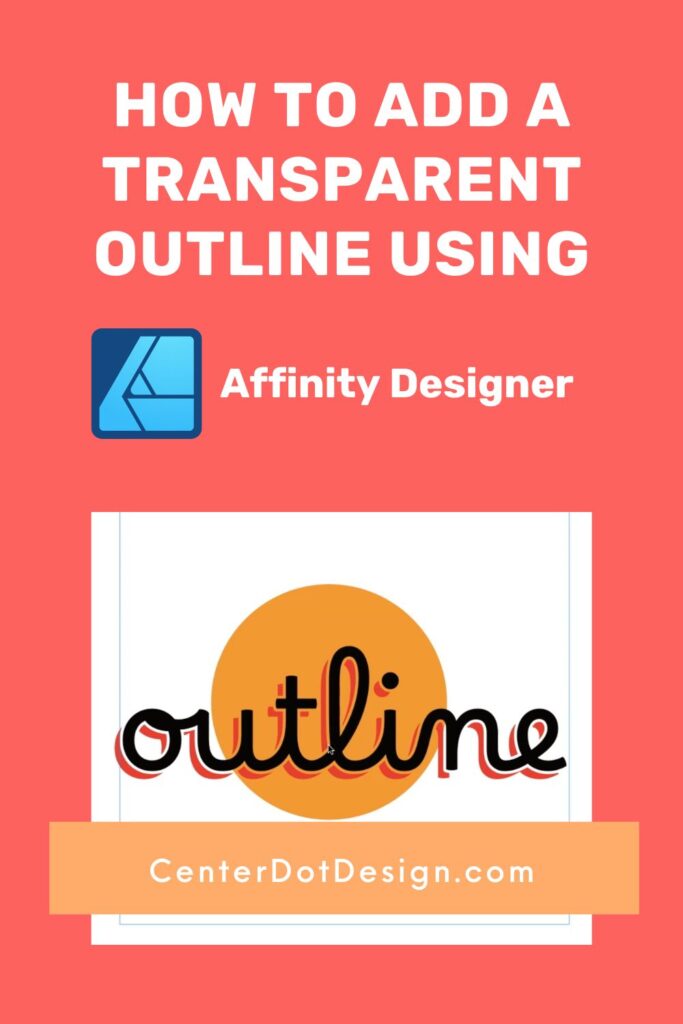
Adding a transparent stroke (outline) to text and other elements is an easy way to elevate your simple designs that will need to be used on multiple color backgrounds, such as vinyl cut files, DTG shirts, and logos. Here’s how to add a transparent stroke to a vector element in Affinity Designer.
Written instructions are available below the video.
How to add a transparent stroke to text with a drop shadow
- Type your text and set the font and letter spacing
- Go to Layer > Convert to Curves (this will create a curve layer for each letter)
- Select all the curve layers containing your text
- Click the Add button in the top toolbar to combine them into a single layer
- Duplicate the layer
- Change the color of the bottom layer (this is your drop shadow)
- Move the drop shadow layer to where you want the shadow to be
- Select the top text layer then go to the Stroke panel and add a solid stroke
- Go to Layer > Expand Stroke to convert the stroke to it’s own curve layer
- Optional: make a copy of the text layer and combine with the stroke layer for less weeding on a cut file
- Select the stroke layer and the drop shadow layer then click the Subtract button on the top tool bar
- Optional: Group the text and drop shadow layer together so that you can move and resize if needed


